| » Forum Index » Problems and solutions » Topic: Complicated sky replacement |
|
Posted on 10/10/10 3:46:12 PM |
|
WTSPC
* Posts: 15 Reply |
Complicated sky replacement
Hi I have an HDR of an arch with trees, leaves etc which the sky is boring and bland. I can't mask in a better brighter version because all the exposures are boring though the rest of the pic is great. Trying to select all the sky through the trees etc is very difficult. I have CS5 and a host of third party plug ins but at a bit of a loss which way to go with this one. Any clues gratefully received. Paul |
Posted on 10/10/10 4:48:06 PM |
|
GKB
Magical Montagist Posts: 4102 Reply |
Re: Complicated sky replacement
Hi Paul Can you post a copy of the image for us to have a look at? Gordon _________________ Why is there only one body to investigate Monopolies ? |
Posted on 10/10/10 5:25:07 PM |
|
WTSPC
* Posts: 15 Reply |
Re: Complicated sky replacement
One of the mid exposures. 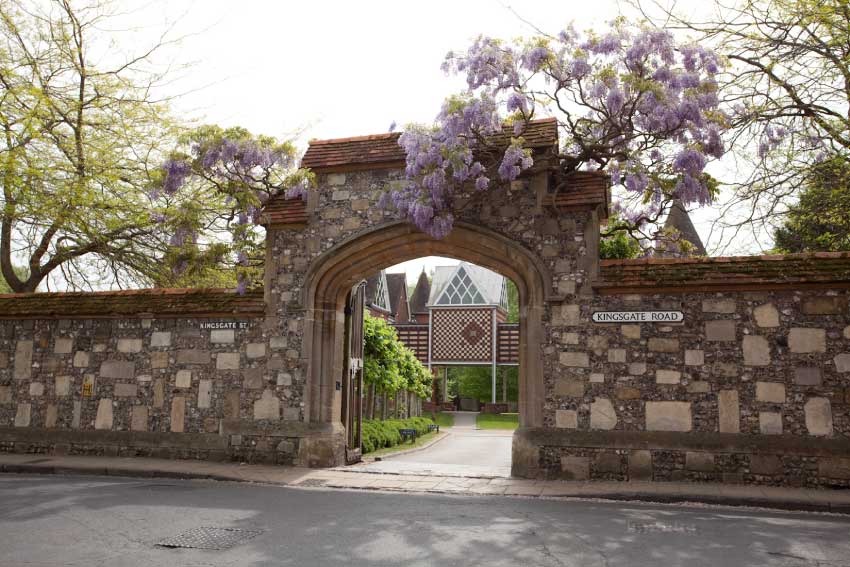 |
Posted on 10/10/10 7:17:31 PM |
|
GKB
Magical Montagist Posts: 4102 Reply |
Re: Complicated sky replacement
Hi Paul, Thanks for the image. This is an ideal image for using a Channel mask. We are going to create an Alpha Channel and increase the contrast so that it is totally black and white with the white area being the wall and trees etc and the black area being that nasty boring sky. This might seem complicated but it is really quite easy to do. The image as posted is quite low resolution with a few compression artefacts but should look much better than this with your original image. Firstly have a look at the RED, GREEN and BLUE channels. You want to find the channel with the greatest contrast. In this case it is the BLUE channel. Unfortunately the blue channel is the one with all the noise in it but this shouldn't matter in this case with any luck. Now return to the layers palette and apply a Levels adjustment layer. It is important that this is an adjustment layer as we will be throwing it away later. Adjust the black slider to the right until you just start to lose detail in the branches and leaves. With this particular image leave the white slider just where it is as it's pretty light anyway and we don't want to start losing detail in the branches, leaves and petals. The image will start to look pretty awful now but no need to worry. Return to the channels palette and duplicate the blue channel by dragging the channel to the new channel icon. You must use a duplicate or the original image will be lost. You should already be able to see that the contrast has increased considerably. Image>Apply Image is next; use the default settings. This will increase the contrast yet again and give you an image that is very nearly black and white. Take a hard edged black brush and paint black all around the bits of wall that may still be showing. Keep away from the sky bits! It may be best to leave the bit of sky seen under the arch until later. Now use the burn tool set to shadows and a very low setting and go over the branches and leaves. This will darken them and increase their contrast against the sky. Use the magic wand to select the black area in your mask and then Cmd-Shift-I to invert the mask. Press D then X to set your colour to white. Alt-backspace will fill the area with white. Now go to Image >Adjustments>Invert. Your sky should now be black and the wall, trees etc should be white. Now is the time to trace that bit of sky under the arch and black it out on the mask. Return to the layers palette and delete the adjustment layer we made at the start and add a layer mask. Back to your duplicate blue channel and Cmd-click on the icon. this will select the white area. Back again to the layers palette and, with black as the foreground colour shift-backspace will remove the sky. You may have to do some tidying up by going to Layers>matting and defringeing or removing white matte. You might need to go around some of the branches with your brush set to a 'branchy' colour and the mode set to colour to get the best out of this. The image you posted is quite low resolution with some compression artefacts so it is difficult to tell how well the original will behave but you should get the general idea from this. Hope this helps. Gordon _________________ Why is there only one body to investigate Monopolies ? |
Posted on 10/10/10 7:42:42 PM |
|
Bob
Expert Expressionist Posts: 130 Reply |
Re: Complicated sky replacement
Consider using Blend If. Here's an example. I place the cloud layer over the original and applied Blend If. By adjusting both sliders I got this. No masking whatsoever. 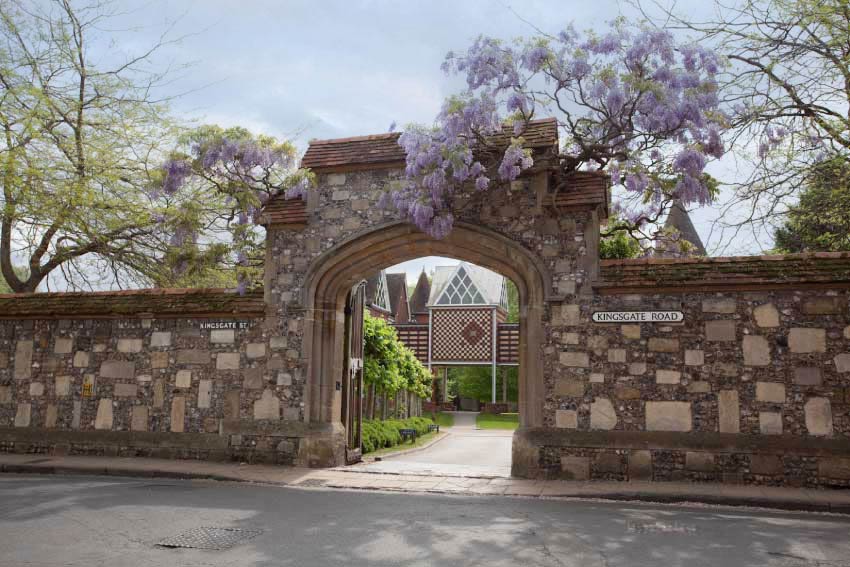 |
Posted on 10/10/10 8:09:01 PM |
|
LonnieK
Diorama Dreamer Posts: 238 Reply  |
Re: Complicated sky replacement
Here's an example of another technique that you might find a bit simpler than Gordon's approach, Paul. Paste a suitable sky image onto a new layer above your background. It need only cover the top. With the new sky layer selected, bring up the blending options dialog. Adjust the Blend If (Underlying Layer) slider stops as shown. (Alternatively, it is sometimes possible to simply set the new sky layer to Darken blend mode.) Good luck, EDIT: Touche Bob. Looks like we crossed paths! 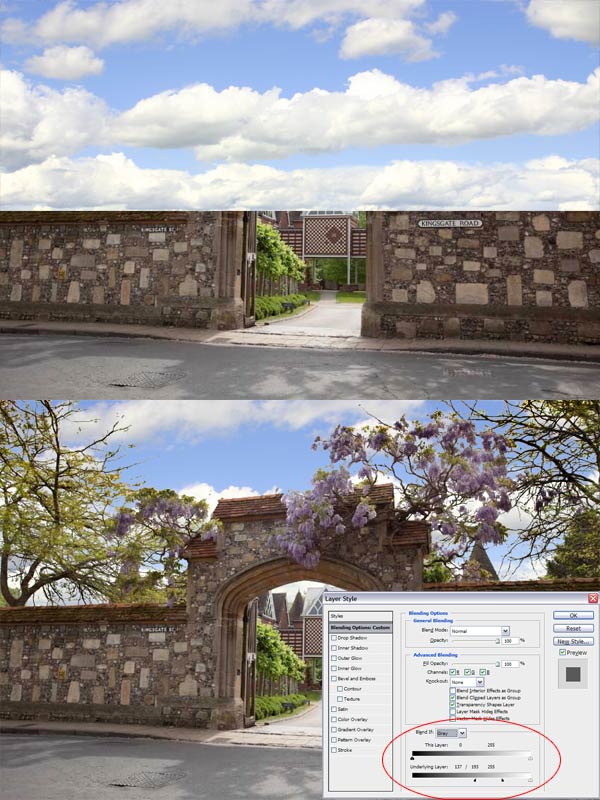
_________________ Lonnie |
Posted on 10/10/10 8:10:54 PM |
|
GKB
Magical Montagist Posts: 4102 Reply |
Re: Complicated sky replacement
Nice elegant solution guys Hadn't thought of that one!  _________________ Why is there only one body to investigate Monopolies ? |
Posted on 11/10/10 6:14:59 PM |
|
WTSPC
* Posts: 15 Reply |
Re: Complicated sky replacement
Thank you to you and I will post my version as soon the dreaded day job allows me the time. Gordon a special thanks (again) for all your efforts. Paul |