| » Forum Index » Reader's Tutorials » Topic: SQIRLZ Water Reflections pictorial tutorial |
|
Posted on 28/03/07 7:27:14 PM |
|
michael sinclair
Off-Topic Opportunist Posts: 1871 Reply |
SQIRLZ Water Reflections pictorial tutorial
PLEASE NOTE: to see the information and detail clearly, you must click on the picture and then again place the cursor on the bottom right-hand corner for the four-arrowed icon to show up for a larger image. INTRODUCTION: The new Sqirlz V2 (animated) Water Reflections is a stand-alone program, and, therefore, not a direct Photoshop plug-in. This program allows you to make and save animated sequences directly in Gif format; however, this is not really suitable for a number of reasons which include not being able to individually time each frame, not being able to edit or modify each frame such as softening the water line, and not having control over the size of the file. Sqirlz does not present a problem here as it rather neatly allows you the option to save as Save File Sequence: it builds a sequence of a set number of jpgs ( anything between 2 an 10,000though 20 is default). It will start with say Water00.jpg, Water01.jpg, and so on. Once you have your set of numbered and sequenced jpgs, then open them up in Photoshop using the 00.jpg as the base window to commence your animation process. In the first frame we have 00.jpg, in the next we have 01.jpg, and so on. This will provide the same degree of animation of that seen in Sqirlz, but with even better refinement. In addition to the water reflection options, the new Sqirlz has presets for water rings, rain, and snow. 1. Maximise the Sqirlz window click on the Green folder and select a suitable image which also should be maximised: 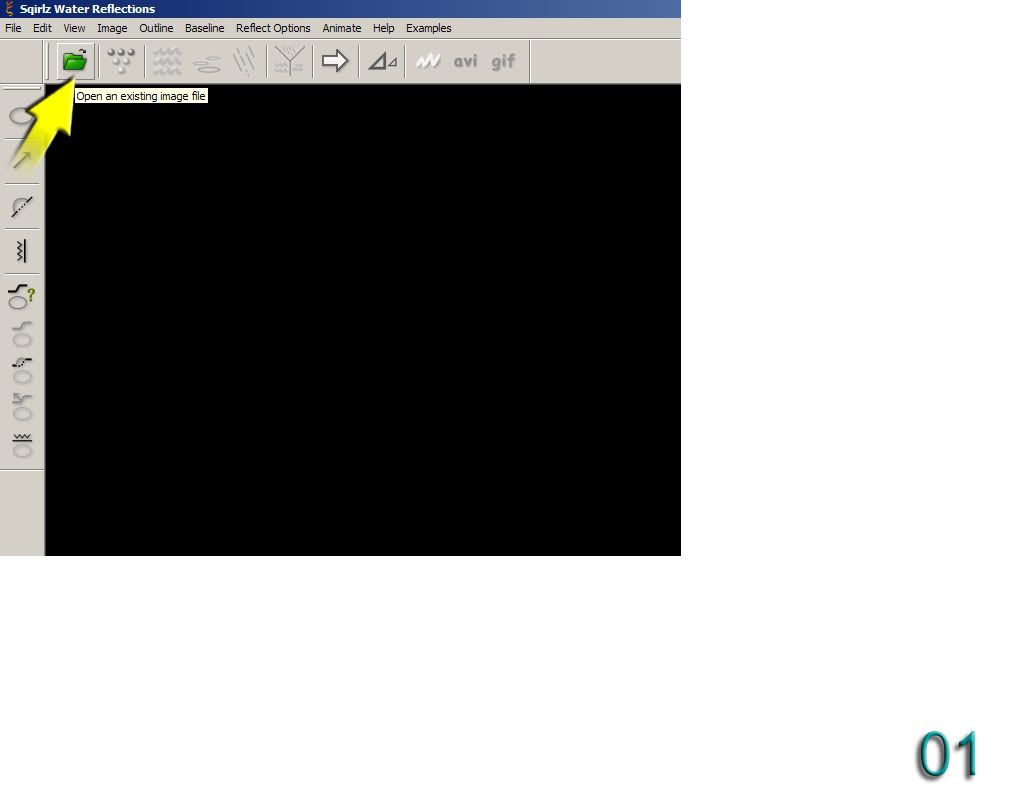
2. Here is the Sqirlz interface: 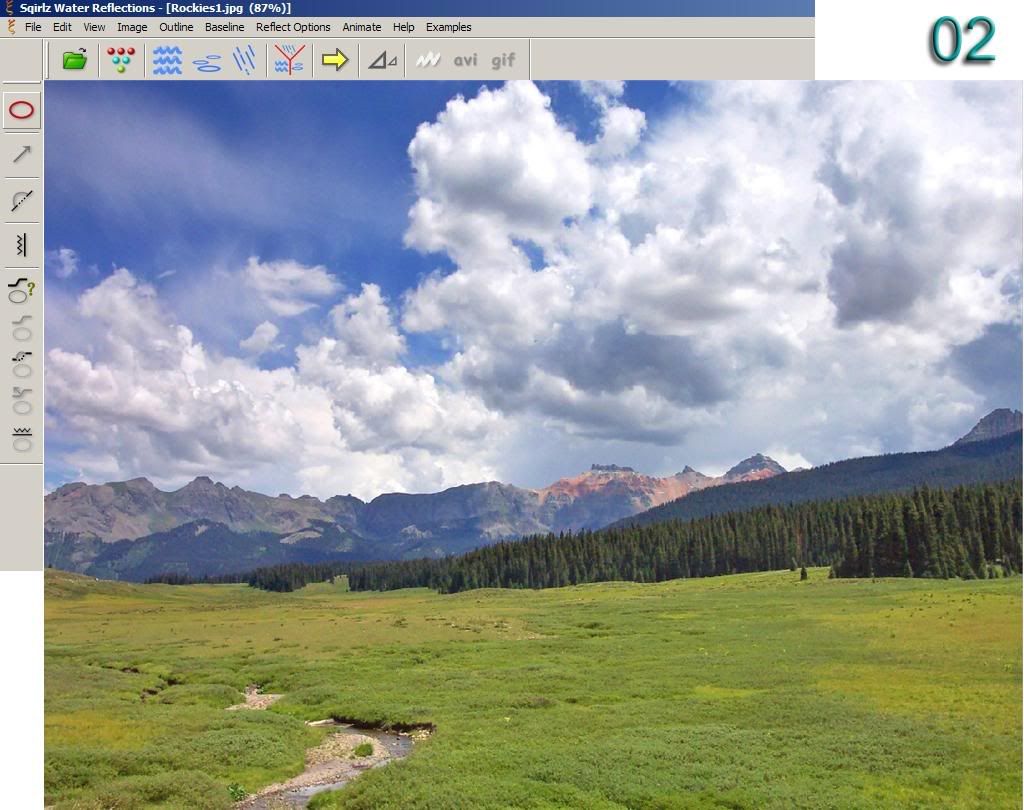
3. Click on the Snooker balls icon. 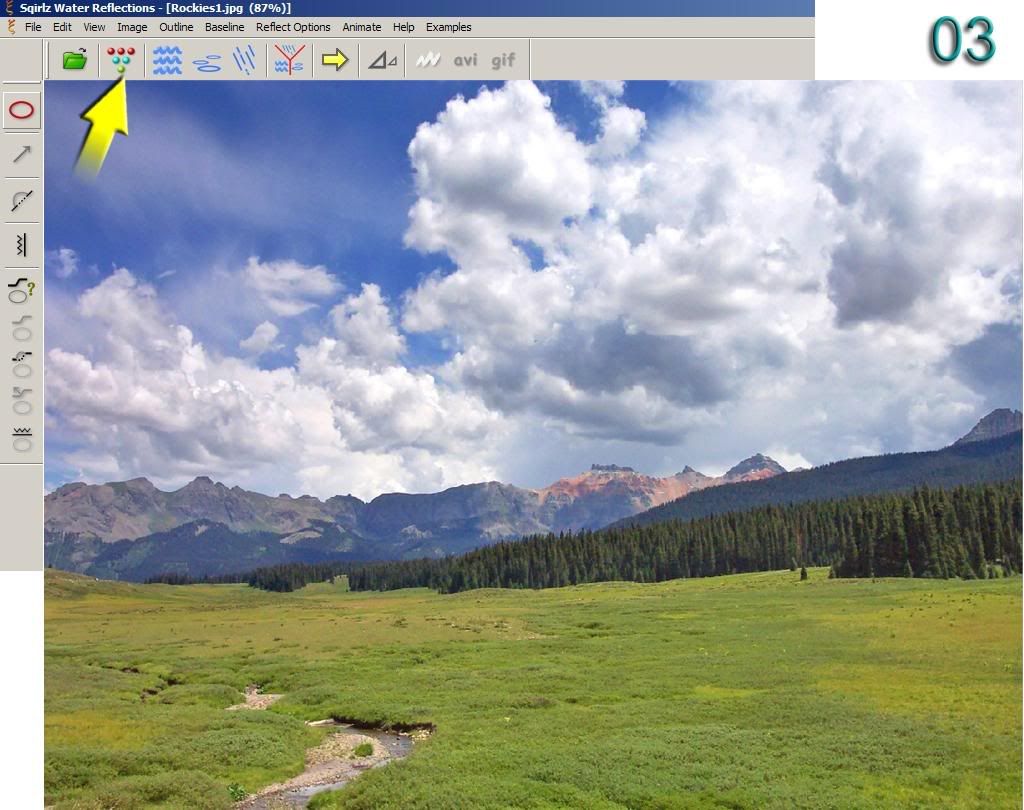
4. Type in 6 or less, and click OK. 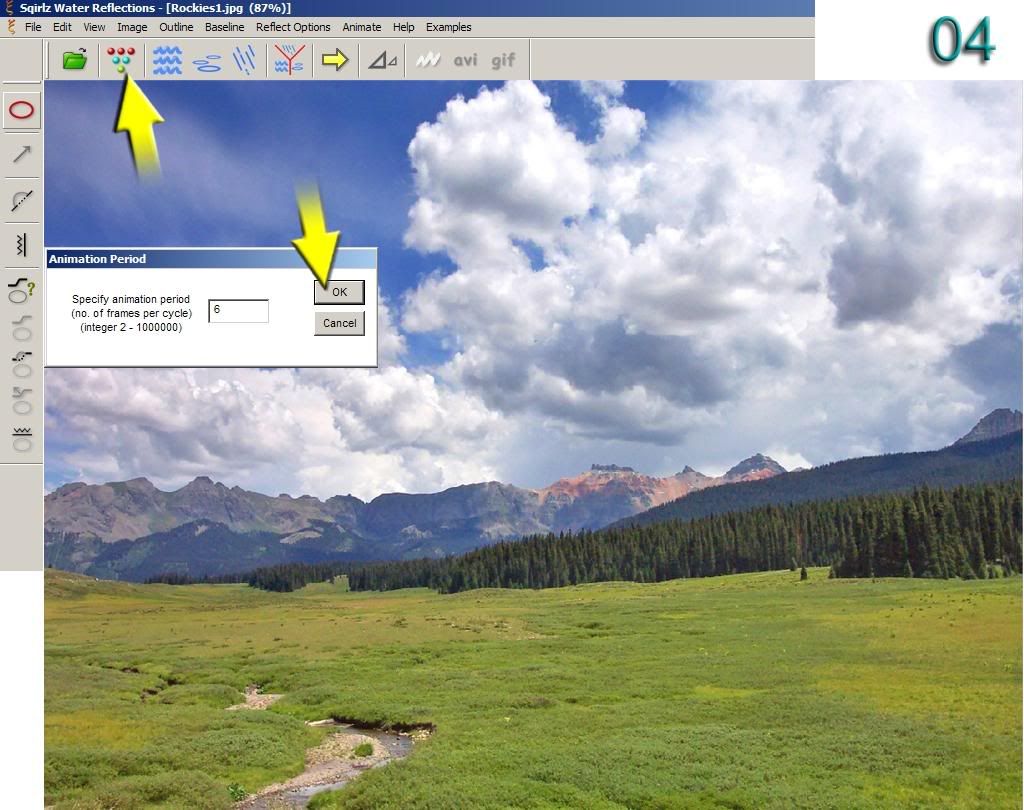
5. When you click on the red Elliptical ring icon ( the Outline Tool), the cursor changes into a crosshair which you can now use like a standard Selection tool. when the selection is completed, Right Click, and the selection changes to longer alternate lines: 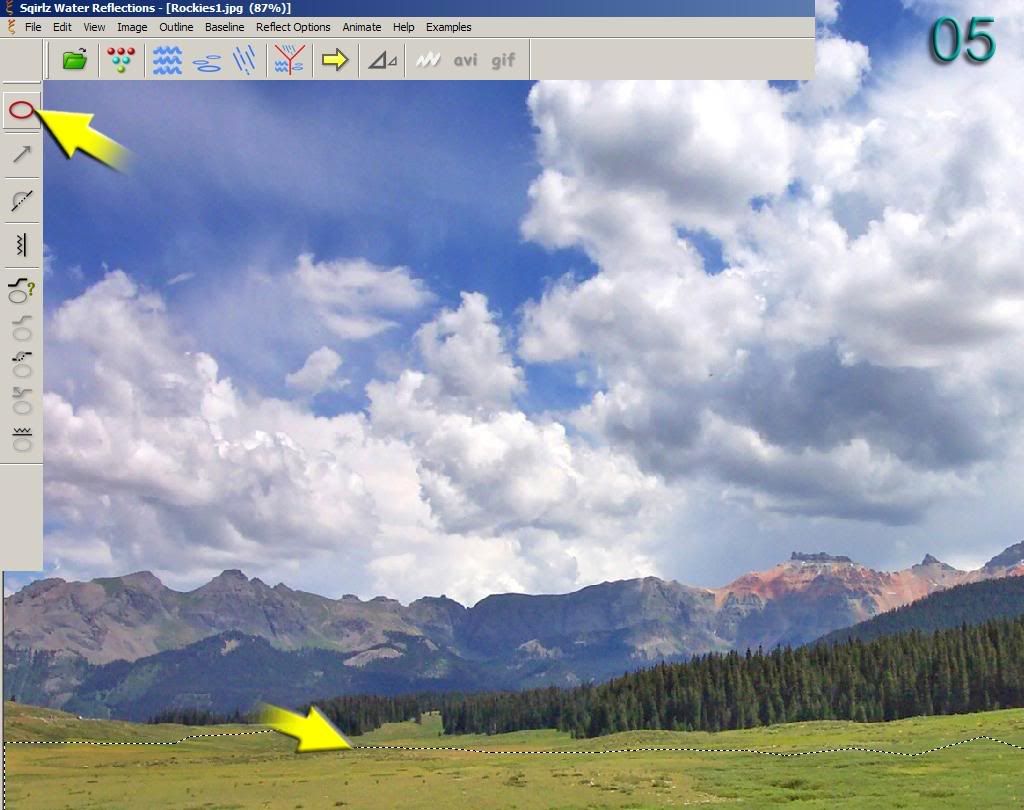

6. To get a preview of the new water reflection area, click on the Yellow Arrow icon. Clicking it once more removes the preview. 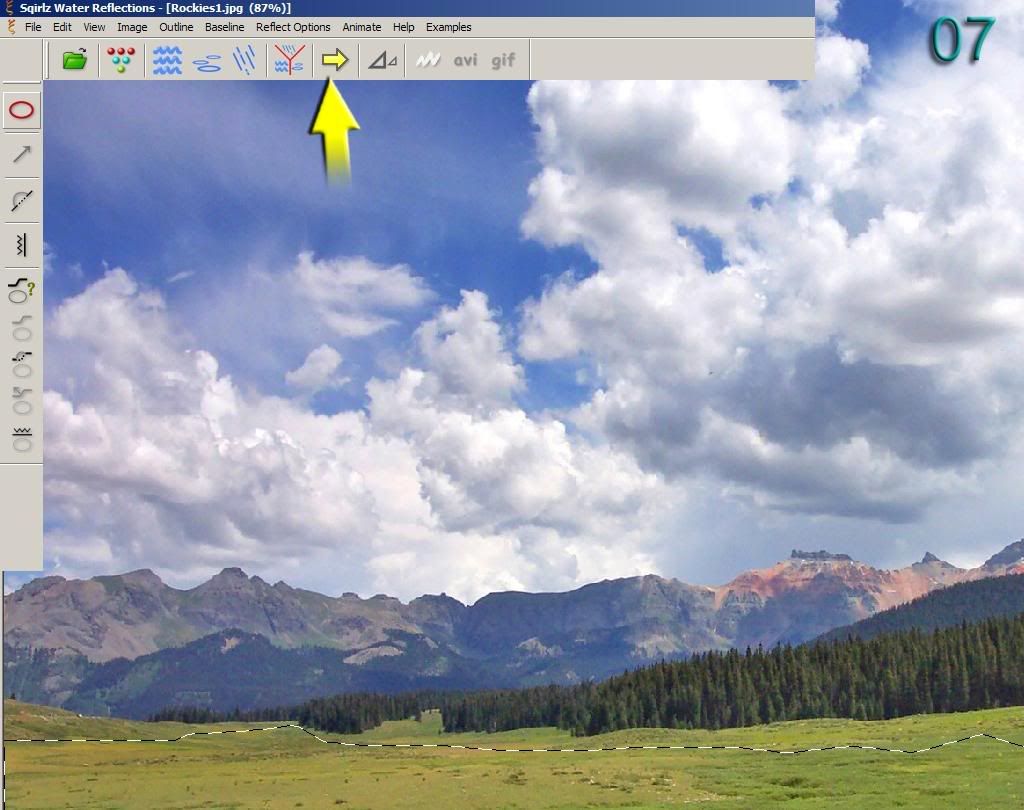
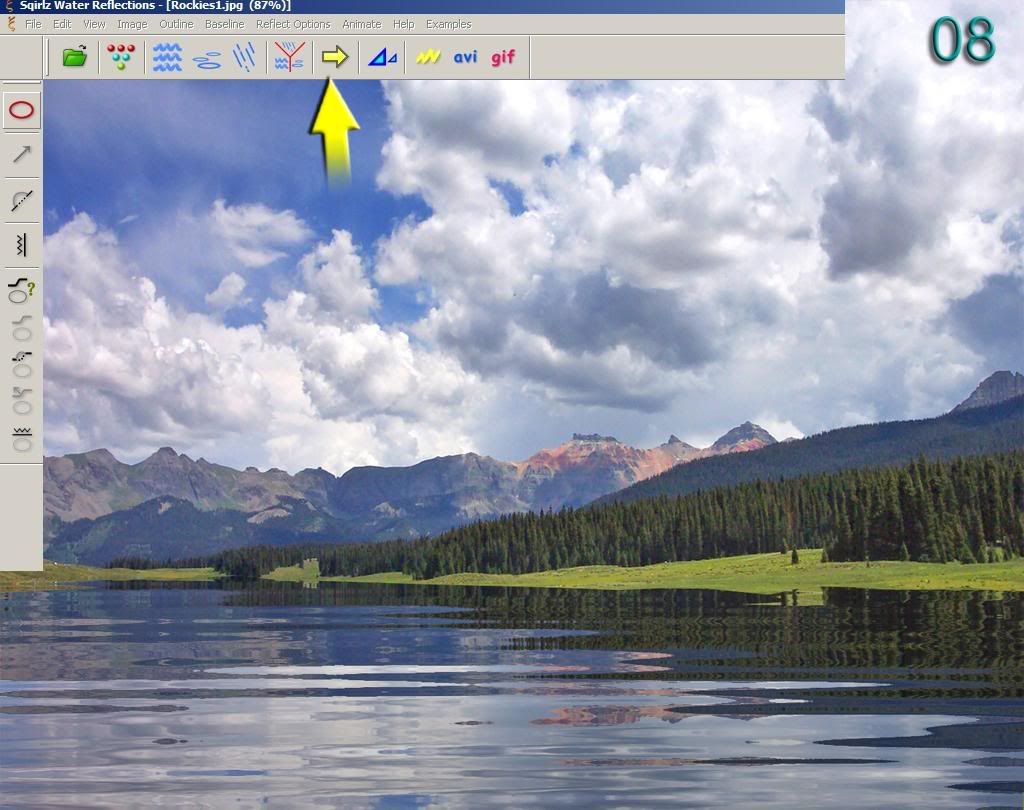
7. To change the water effects Click on the three Blue Squiggles icon as shown with directional arrow. After making adjustments click on the "Yellow Arrow" icon as shown to see another preview of the water reflection. click the arrow once more to remove just the preview. 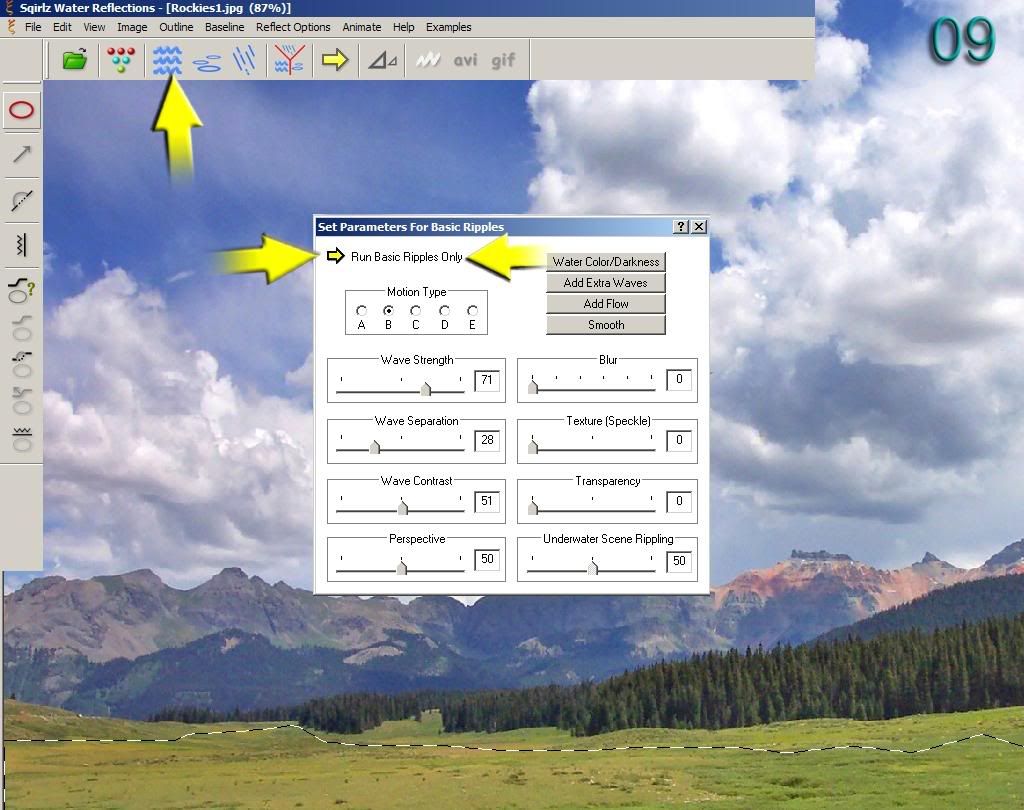
8. If you make a mistake, then click Image in the main menu and click Delete from the drop-down menu, and repeat the selection process again. 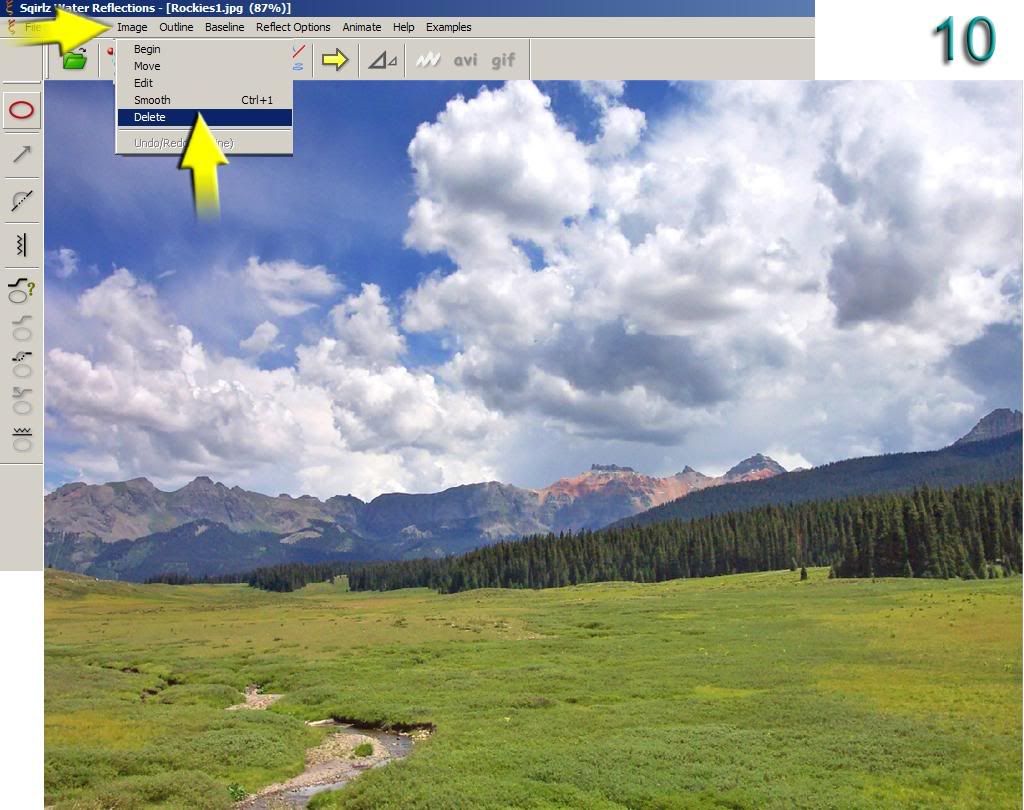
9. Once youre satisfied with your selection then the process of saving the multi-sequence file begins by clicking Animate from the main menu, and selecting File Sequence Save: 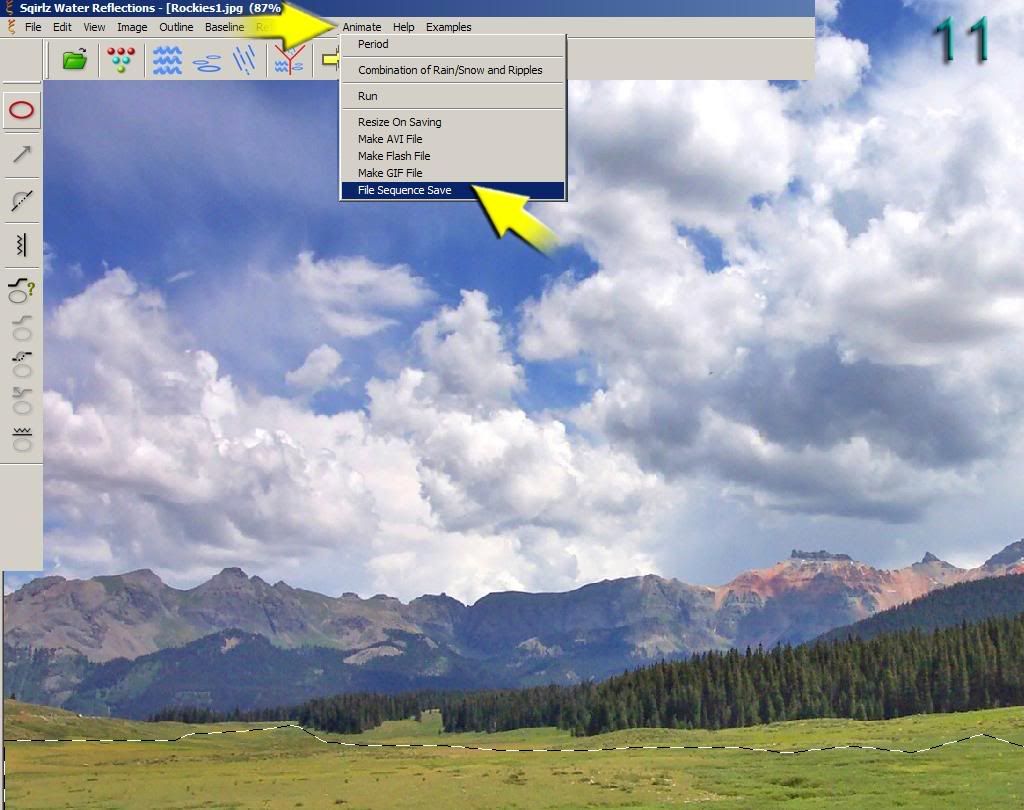
10. The Open dialogue box appears: type in a name ( one that is not going to be overwritten with the same file name already on your computer), and put the .jpg extension at the end of it. Click OK. 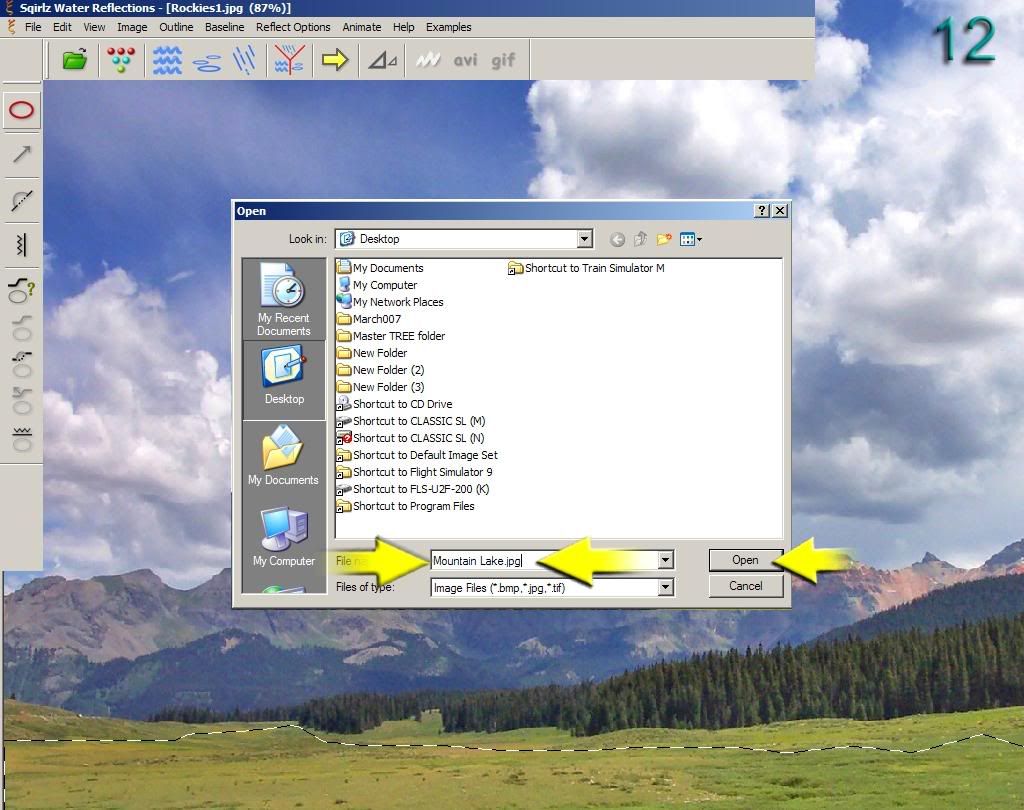
11. Select jpg as shown, and because the size of the file can be easily adjusted inside Photoshop, we can max out the quality of the image which is 100. Click OK. 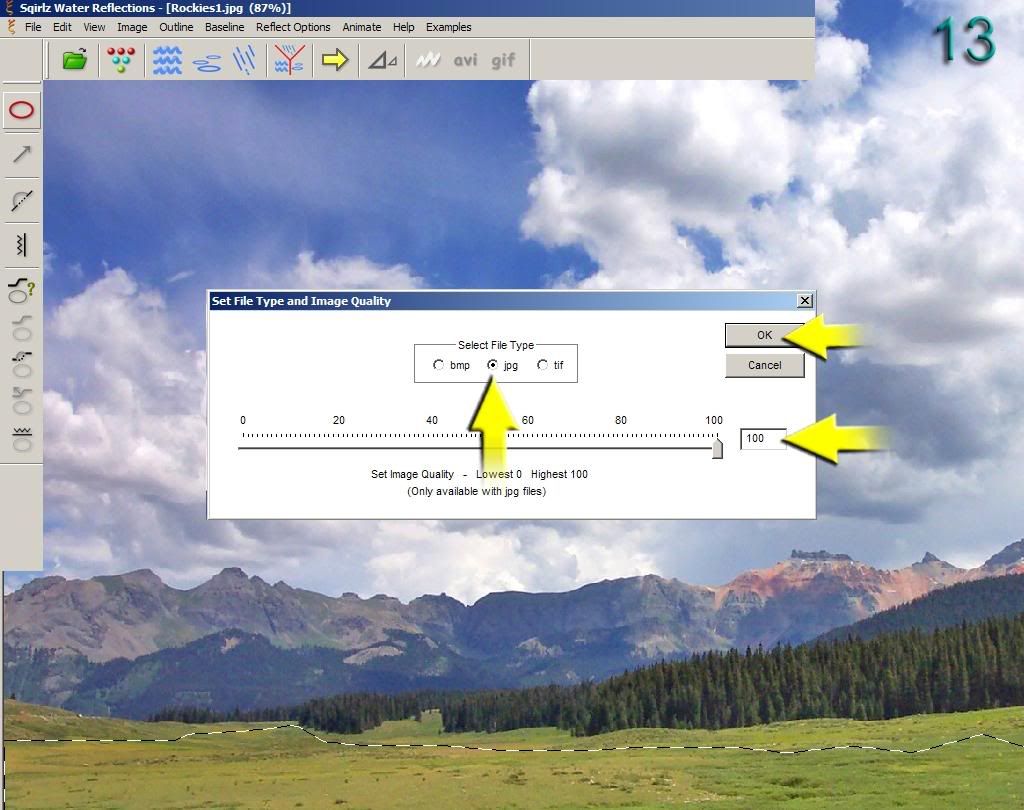
12. The Save Animation window appears. Once this is complete you will have six sequenced jpgs on your desktop ready to be placed into Photoshop where you can click on Windows, and then Animation. 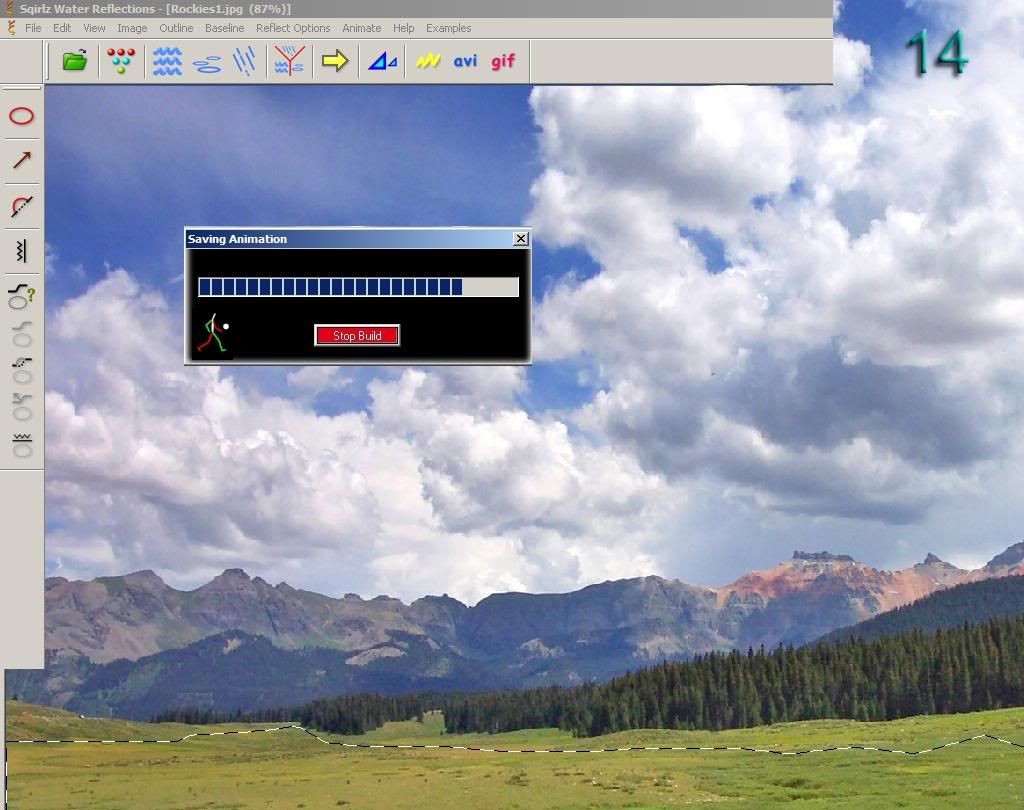
13. Here is an animated gif of water reflection: 
Sqirlz Water Reflection Tutorial by Michael Sinclair |